We played a fictional battle in the Nation of Malongo, where the Province of Kananga (supported by western influence) had risen up against the central regime to proclaim independence. After a series of broken ceasefires and failed negotiations, the National Army of Malongo has pushed into the Province, prompting the US Government to intervene to protect their interest in Kananga.
Unfortunately with forces overstretched and tight military funding the Americans where unable to supply anything but symbolic defense and some airstrikes into Malongo, which hardly stopped the well equiped and determined NAM.
Now, with Malongese Forces on the march towards the province capital, the US Forces are right in the firing line as they have to defend against the African formations pouring into the city.
This is the shot of our test game deployment - for the real game we added another BTR to the NAM-Forces in order to enhance their firepower and mobility ever so slightly.

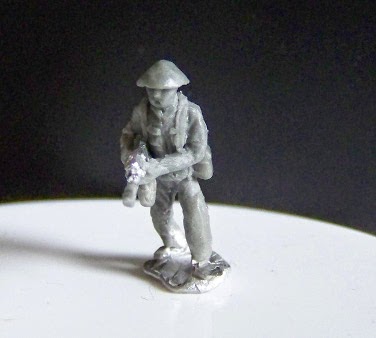
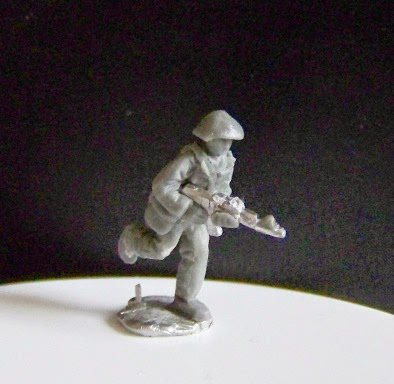
On the American side, we had an understrength Mech. Infantry Platoon with 2 full Squads + 2 Bradley IFVs, the corresponding platoon HQ including medic and JTAC as well as a single M1A1 Abrams.
The Americans where to hold the central walled compound (white) while the next defensive perimeter was being prepared.
The game report is pretty compressed, featuring only the major flow of the game and the important events - there was a lot more going on, but explaining every order would likely exceed the attention span of even the most interested readers ;)

The National Army of course had the Initiative almost throughout the entire game with a lot more decently led troops on the board. They started pushing across the entire front, with emphasis on the right flank for the first turn.
US Soldiers on the rooftops tried to knock out the first tank on the right flank by firing their AT weapons, but failed miserably and had to endure the effects of aimed 12,7mm DShK-Fire from the mounted MGs on the tank. Several casualties where the result.


In the center of the battlefield, African Infantry moved in to occupy the important compound overlooking the entire "no mans land". They are covered by ther MG team on the wall, which unfortunately fails to suppress the American Infantry in the bunker.

On the other side of the battlefield, the NAM-Commander loses his patience during turn 2 and orders to reduce the buildings occupied by US Forces to rubble. The tanks lay down some well aimed main gun fire and both structures crumble into ruins!
Very unlikely result, but both buildings failed their destruction test. Of course the occupants didn´t like that very much and further casualties ensued.

Next turn, the other Tank on the right flank (visible below) struck hard against the sandbag bunker, obliterating it´s defensive effect and reducing the available cover for the US fireteam.
Below: Malongese Forces have occupied the compound in the centre and have a well covered position with good look over the battlefield. The Americans bring their Abrams into action and hit the T55. The African tank gets lucky and only suffers a main gun malfunction.

While trying to reverse and retreat behind the field (the vehicle included the Assistant Platoon commander of the Tank platoon, providing important leadership points and commands to the African tanks) the T55 was hit again by the Abrams and this time was gone for good.
In the center, a firefight between the American groups and the US Fireteam in the bunker rages, both are suppressed in the pic below.

With American forces weakened on the left flank after buildings crashing on top of them, Malongo pushed forward with it´s tanks...

... and suffers an incoming missile from an F-16 fighter hitting the weak deck armor of one T55.
The other tank is targeted by a Bradley IFV (the one on the right flank), but the TOW missile misses. Returning fire on the Bradley disables the IFV...
Unfortunately, the infantry is yet unable to catch up with the tanks, leaving the armor dangerously exposed.

While trying to draw in the infantry by crossing the open, the Americans seize the opportunity to relocate their second Bradley. The IFV hits the infantry group on the run with his Bushmaster Autocannon and carnage ensues...
The infantry is forced to fall back into the field, tending to the many casualties taken

In a bold move, the Bradley circles around the T55, trying to hit his weak rear armor with the cannon. Both vehicles fail to damage each other, the T55 rolls on to put pressure on the platoon HQ positioned in the target compound.

The Bradley pursues, but this time the T55 gunner is faster and more accurate than before and the Bradley is rendered inoperable.

Meanwhile, the Abrams had halted all breakthrough attempts on the right flank. Popping the fully manned BTR, the Abrams dealt a serious blow to the mounted infantry, preventing any further push into the fortified american positions, where the US teams where pinned under heavy fire.

In a stroke of luck, the remaining T55 on the right flank not only held off the M1A1 by absorbing a hit in its tracks without brewing up on a ball of flames (only a mobility kill) and then hitting the Abrams well enough to kill its Main Gun!
Imagine the frustration and joy of this moment (depending on the faction) ;)
The Americans surrendered after this loss of their hardest hitting weapon. In theory they could have won (things didn´t look too bad with all the african infantry bogged down and yet unable to cross the open terrain).
Conclusion:
-Vehicle combat has some quirks... Bradley have the same front armor as a T55, the only difference is the more devastating damage table? Still strange...
-Infantry combat works fine!
-I need to tweak the movement rules - units within 2" of a terrain features edge should be able to rapid move across the open. Maybe not for buildings, but it doesn´t take ages to leave the edge of the field and sprint across open terrain..
If you have any questions, just leave a comment!
The houserules are available as beta version for playtesting, please contact me with your email adress and I´ll send them to you.
Until next time!